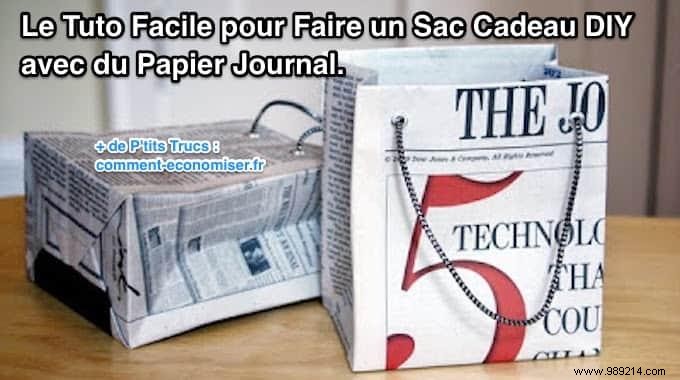
Recently, a store seller packed my purchase in a charming newspaper gift bag. This petite Christmas bag was adorable and utterly unique.
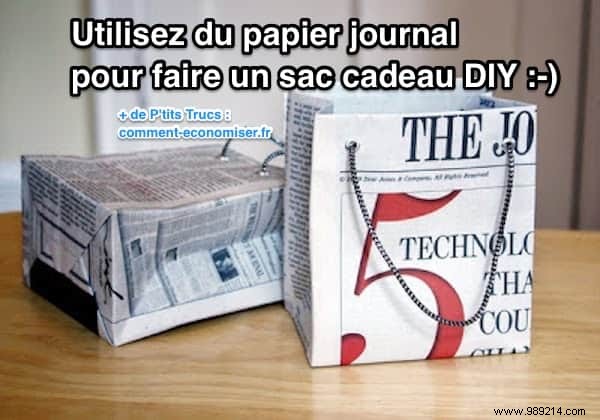
Back home, I immediately wanted to craft some myself. Today, I'll walk you through creating your own original newsprint gift bags. It's surprisingly simple and far more economical than buying them.
Watch this:
 Contents
 This compact newspaper bag is perfect for presenting personalized gifts to loved ones. Add cord handles for an elegant upgrade.
1. Layer two sheets of newspaper for double thickness, making your bag much stronger.
2. Cut a rectangle about 40 cm long by 21 cm wide.
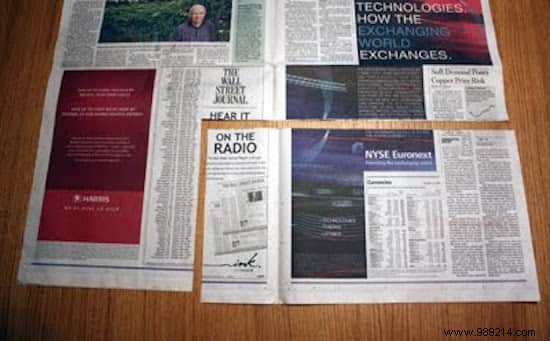
3. Place the most appealing side face down—I chose the blue-toned side for the exterior.
Tip: Use the newspaper's natural horizontal crease to align your cut, avoiding an extra fold.
4. Make these precise folds:
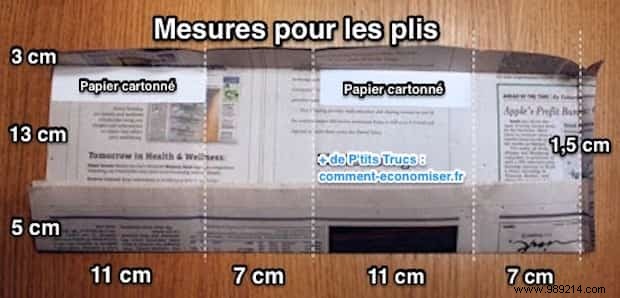
5. Cut two cardstock strips (10.5 cm by 2.5 cm).
6. Apply multi-purpose glue and attach them to the widest sections below the top fold (see white lines in photo).
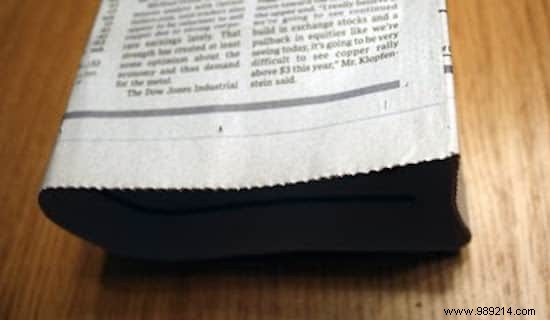
7. Glue the top fold over the strips, securing both paper layers for strength.
8. Glue the outer side of the 1.5 cm tab.
9. Fold the left side over, aligning the edge with the fold line. You've formed the bag body!
Add glue dots to secure.
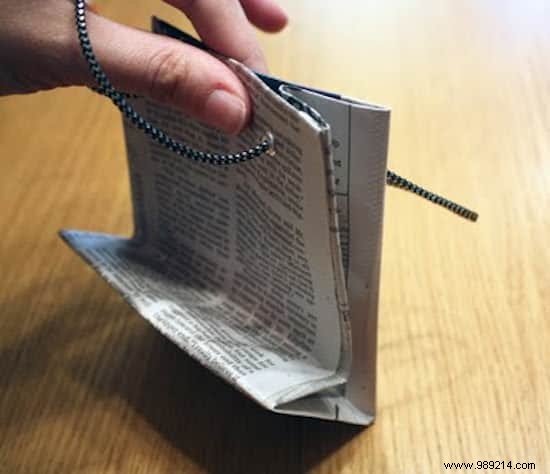
10. Flip so the 5 cm fold is up.
11. Fold sides inward into triangles, like gift-wrapping.
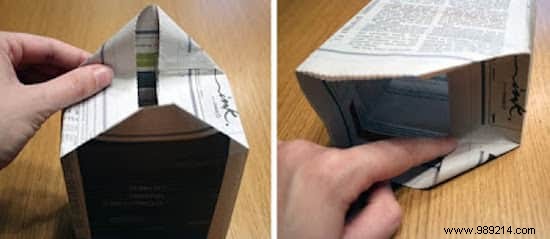
Tip: Lay on its side and use the table for crisp folds.
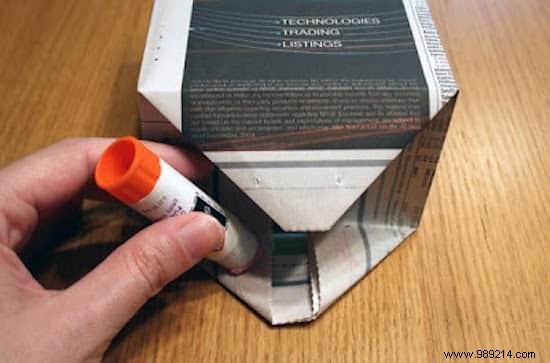
12. Glue triangles inward to form the bottom. Press firmly inside the bag upside down.
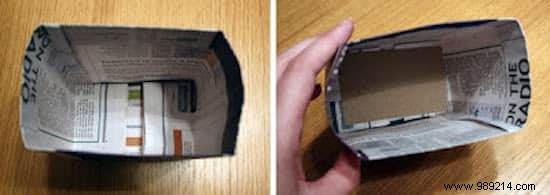
13. Cut a 10 cm by 6 cm cardstock rectangle to reinforce the bottom and hide creases.
14. Punch holes near the top edges (two per side) for cords. Add metal eyelets if available.
15. Thread cords through and knot ends for handles.
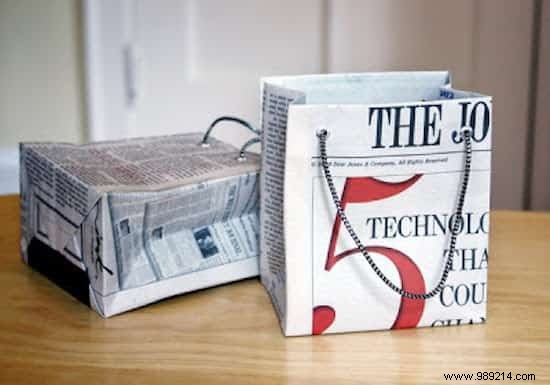
Ta-da! Your newsprint gift bag is ready. Simple, right? It recycles old newspapers and stores flat: fold sides in, then bottom up.
Scale dimensions for any gift size.