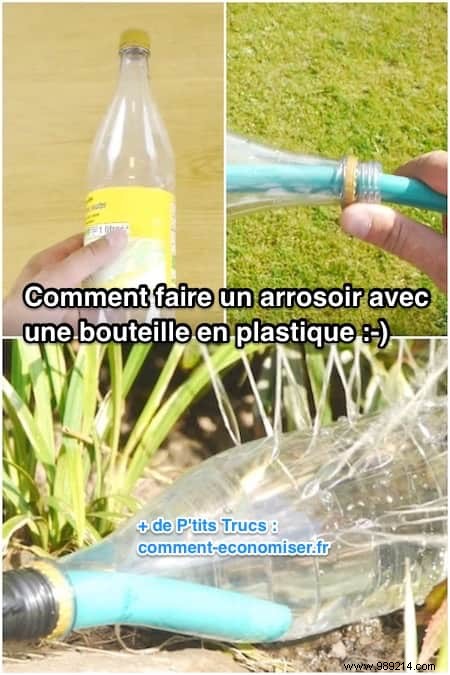
Need a reliable watering can for your garden? Skip the store-bought options. With just a plastic bottle, some duct tape, and a garden hose, you can create one yourself—quickly and affordably.
It's simpler than you think. Follow this proven DIY method, trusted by home gardeners everywhere. Watch the video tutorial below:
Step-by-Step Instructions
- Start with an empty plastic bottle and remove the label.
- Using a thumbtack, poke a straight line of holes every 3 cm along one side.
- Rotate the bottle slightly and add another row of holes 3 cm from the first.
- Repeat twice more for a total of four rows of holes.
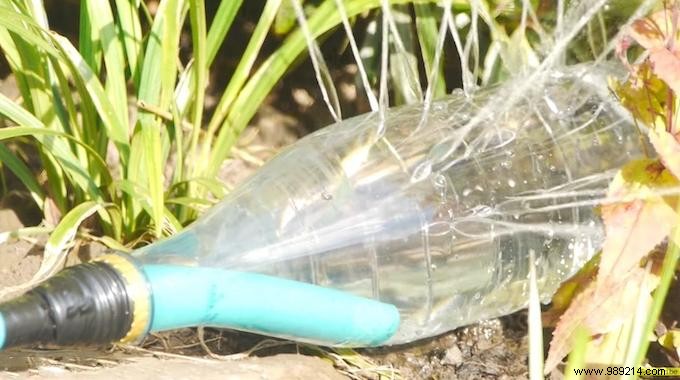
- Insert one end of your garden hose into the bottle neck.
- Wrap duct tape around the hose end to thicken it, then push it securely into the bottle.
- Seal the bottle neck around the hose with more duct tape for a tight fit.
- Position your new watering can in the garden and connect the hose to your outdoor tap.
- Turn on the water for gentle, even watering.
The Result
Contents
- Step-by-Step Instructions
- The Result
Your custom watering can is ready! This eco-friendly solution waters lawns, plants, and flowers gently and precisely—all while saving money compared to buying new.