
Imagine transforming your dining room chairs into cheerful Santa hats this Christmas. As a DIY enthusiast with years of holiday crafting experience, I've perfected this simple project that's perfect for adding festive cheer without advanced sewing skills—no hemming required.
It's quick, budget-friendly, and yields professional results. Follow this step-by-step guide to create your own.

1. Measure your chair back's maximum width and height. Example: 50 cm wide by 45 cm high. For the Santa hat shape, include a 25 cm triangular peak at the top.
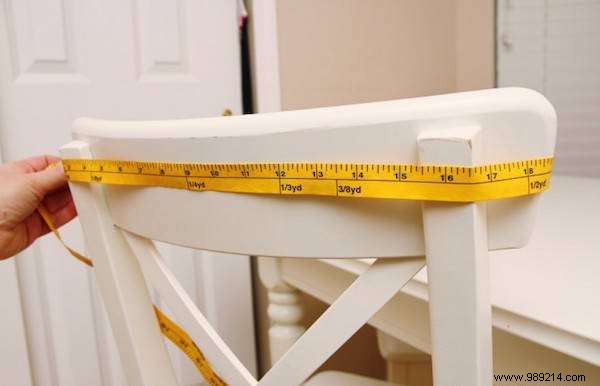
2. Add 1.5 cm seam allowance to each side (except bottom). Trace and cut two pieces from red fabric.
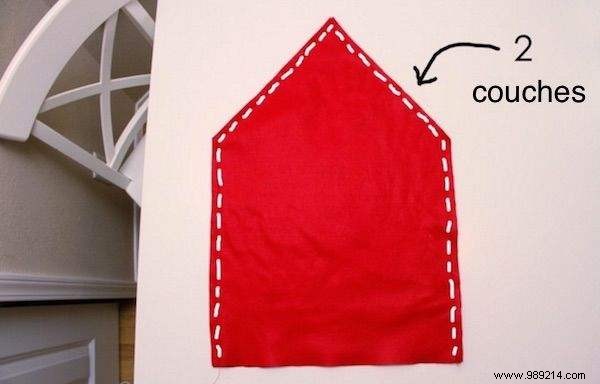
3. Place pieces right sides together and sew edges (except bottom), leaving 1.5 cm seam. Turn right side out—if fabric has a pattern, position correctly.
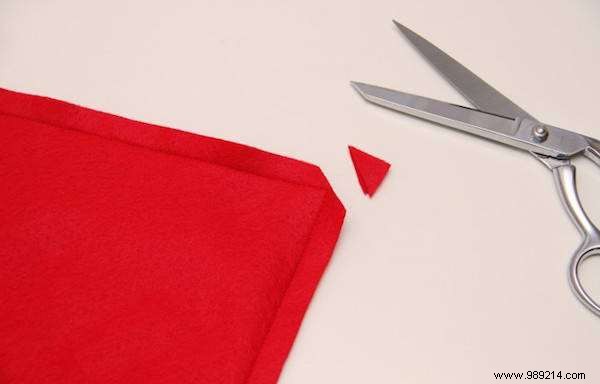
4. Trim corners.
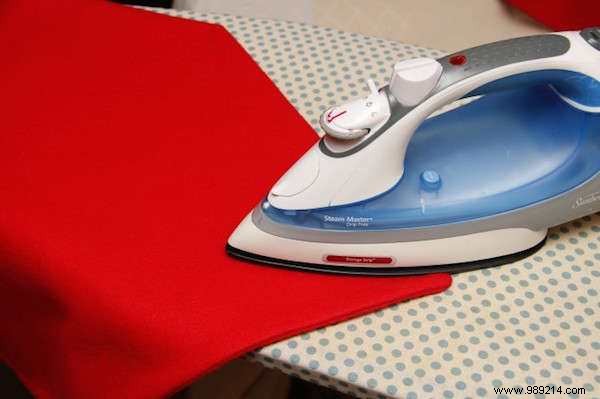
5. Turn right side out and iron flat.
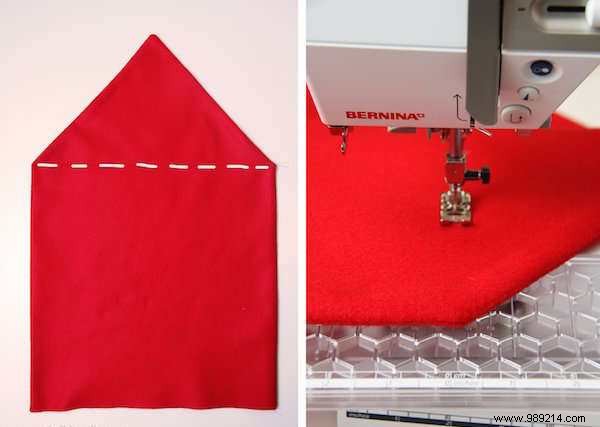
6. Sew a straight line where the triangle peak begins to secure it in place on the chair.
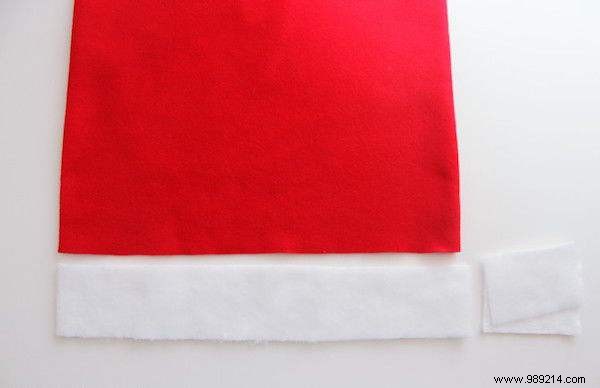
7. Cut white fabric 6.5 cm wide, matching bottom length plus 1.5 cm for seam.
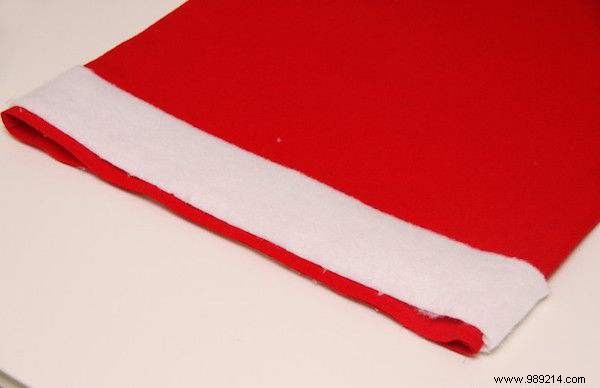
8. Sew white strip ends together. Slide over bottom edge, aligning seams for a clean finish.
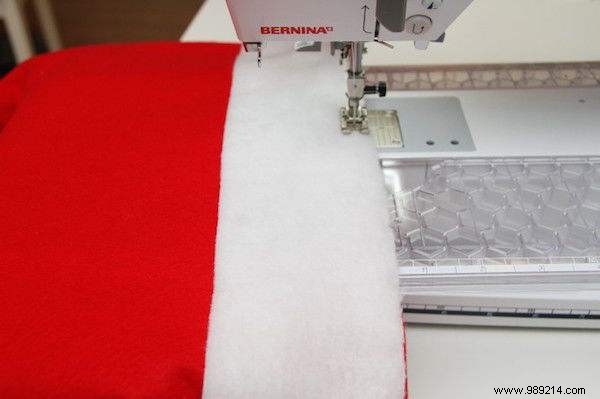
9. Sew layers together with 0.5 cm seam.
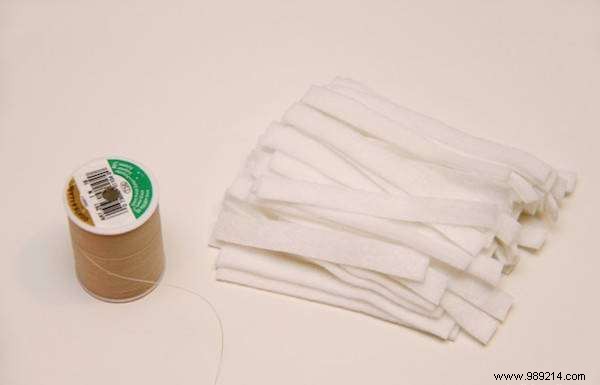
10. Cut white felt into 1 cm wide strips, then 10 cm pieces (45-50 per pom-pom).
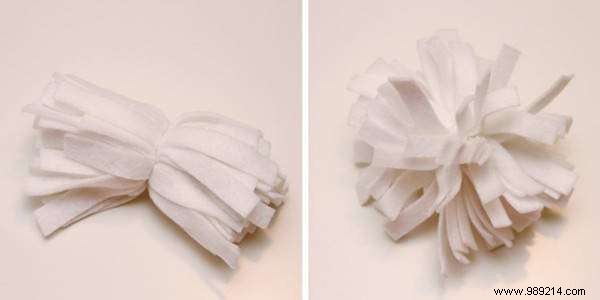
11. Bundle strips, tie tightly with wool yarn in center. Knot securely, trim yarn, and fluff into pom-pom.
12. Glue pom-pom to hat tip; hold briefly to set.
13. Repeat for all chairs.
14. Slip covers onto chair backs.
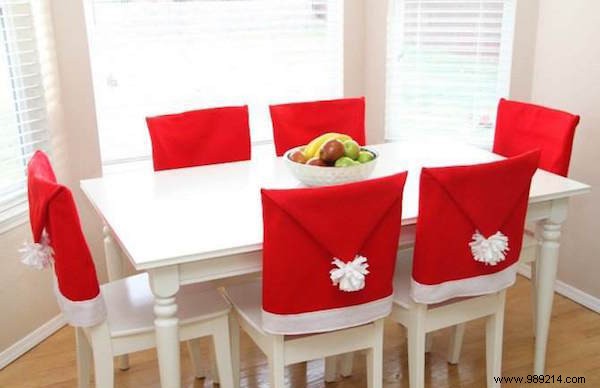
Your dining room now boasts adorable Santa hat chairs! Kids will light up at breakfast, imagining Santa's visit.
Made with polyester fabrics, they're machine-washable for easy storage and reuse next year.
Try this trusted DIY and share your results in the comments. We'd love to see your festive setups!